Project · Rural Matakana
Matakana 1
A new build on a ridge north of Auckland: glass on three sides, polished concrete underfoot, and one heat pump outside the garage warming the whole living floor.
The project
Big glass. Big views. Warm floor.
A single-level architect-designed home built by QPC Construction, with floor-to-ceiling glass on three sides looking out over rural Matakana. The living floor — kitchen, dining, sunken lounge and gallery — is polished concrete, heated from below by eight circuits of in-slab hydronic pipework run from one heat pump. The three ensuites are tiled and heated at tighter centres.
One wall thermostat with a floor probe runs the whole living floor as a single zone. There is nothing on a wall, nothing on the ceiling, and no plant inside the house — the only equipment is the heat pump itself, on a pad outside the garage.
- Where
- Rural Matakana, north of Auckland
- Type
- New build, single level, architect-designed
- Builder
- QPC Builders
- System
- In-slab hydronic underfloor heating, heat pump
- Heat source
- New Zealand-engineered and built 8 kW single-phase air-to-water heat pump with built-in buffer tank, on a pad outside the garage
- Pipe
- 16 mm oxygen-barrier PEX, ~200 mm centres, 150 mm in the ensuites
- Circuits
- 8, from one manifold in a two-door cabinet
- Control
- One wall thermostat with floor probe, running the whole floor as a single zone
- Floor finish
- Polished concrete (living), tiles (ensuites)
- Sign-off
- PS3 producer statement supplied for code compliance
Where the heat is
The living floor, end to end
| Heated area | Floor finish | Pipe centres |
|---|---|---|
| Living | Polished concrete | 200 mm |
| Kitchen and scullery | Polished concrete | 200 mm |
| Dining | Polished concrete | 200 mm |
| Sunken lounge | Polished concrete | 200 mm |
| Gallery and laundry | Polished concrete | 200 mm |
| Three ensuites | Tiles | 150 mm |
In pictures
Nothing to see. That's the point.
Every photograph below is of a heated floor. There is no unit on the wall, no grille in the ceiling and no radiator under a window, because all of the heating is in the slab.
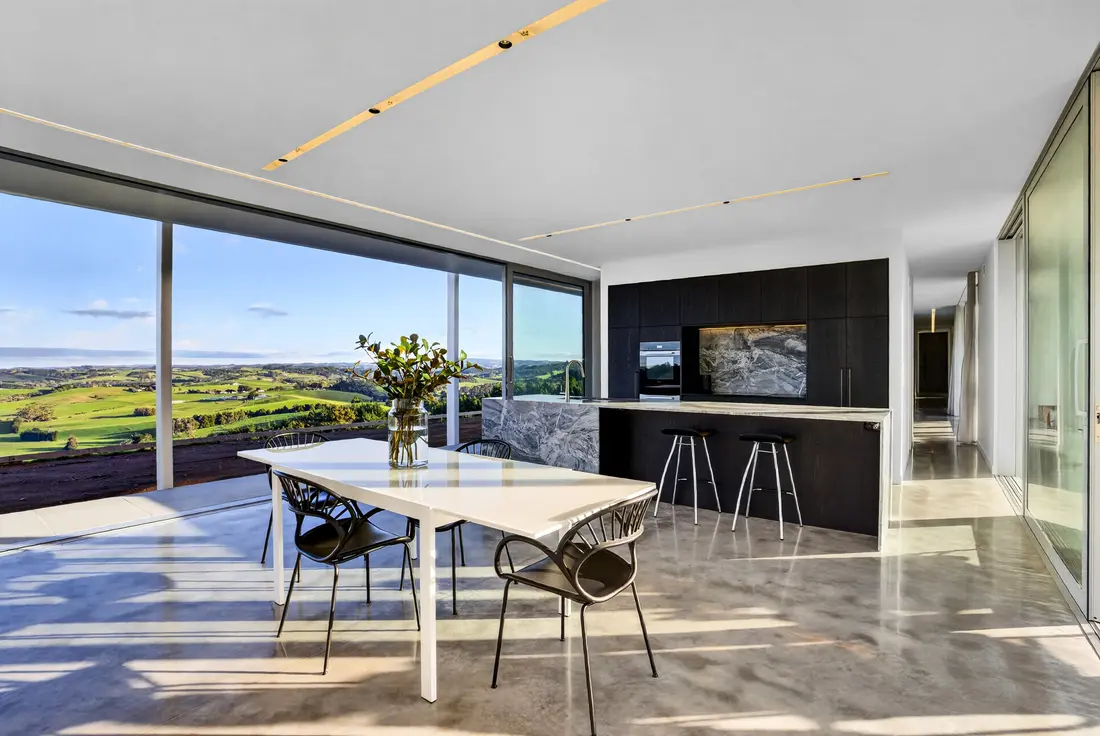 Dining. Afternoon sun on a heated polished concrete floor.
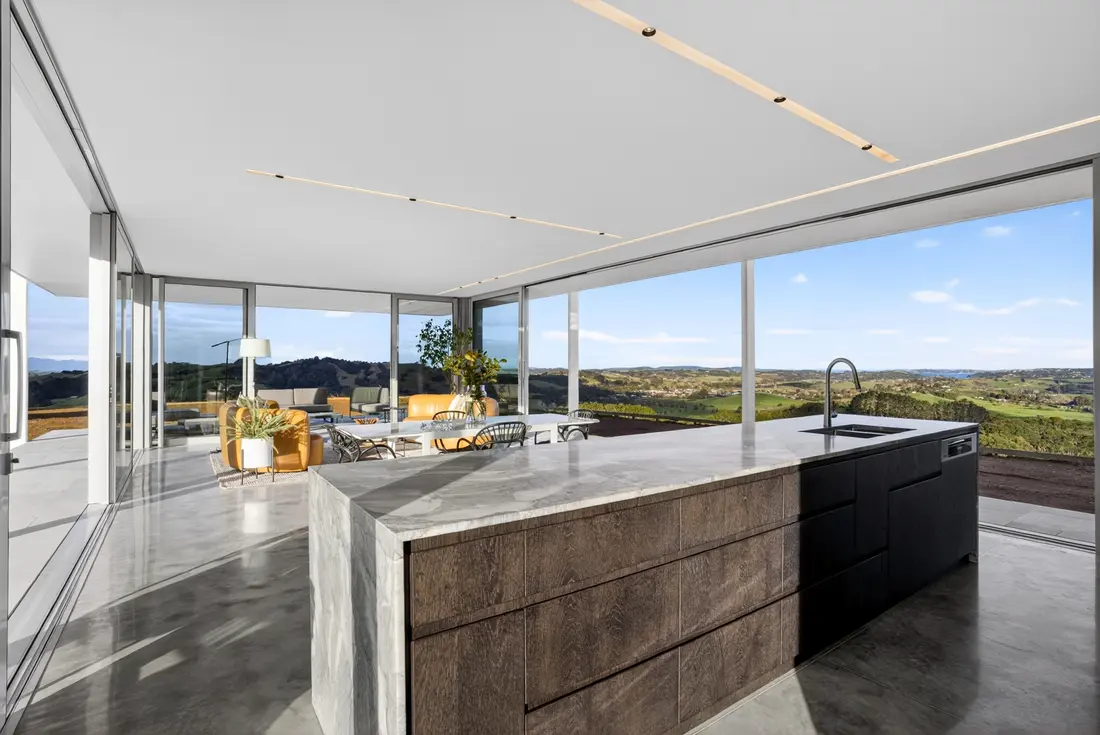 Kitchen. The same slab runs under the island and out to the living area.
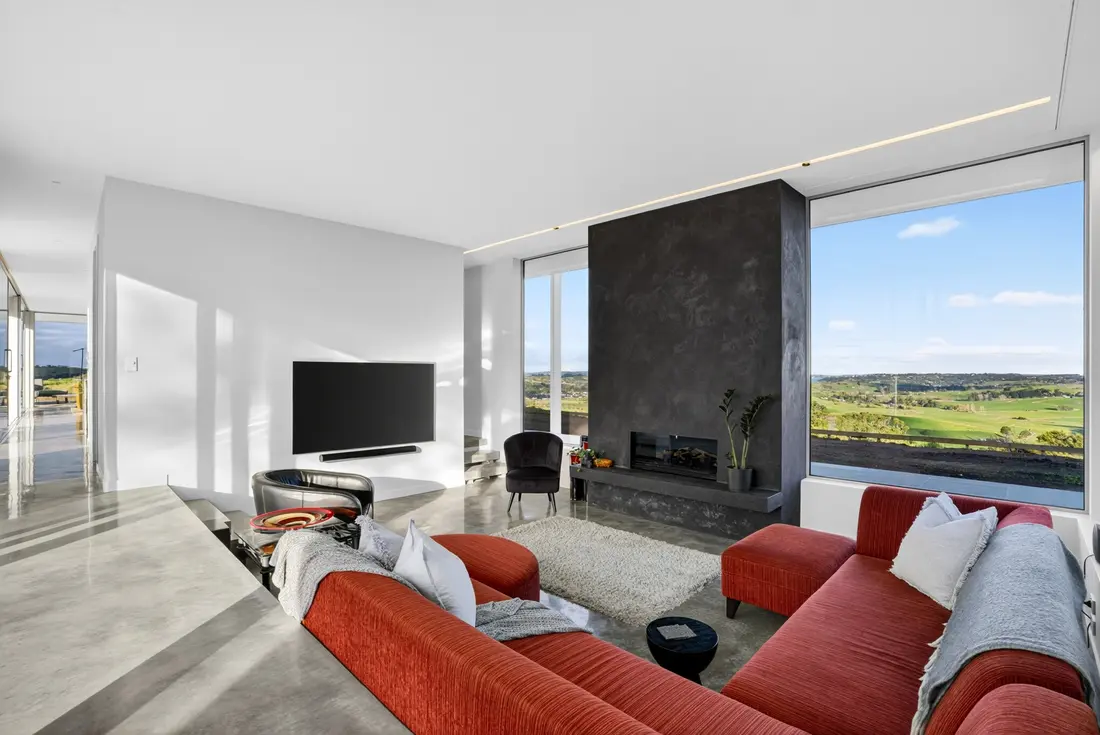 Sunken lounge. Heated concrete steps down beside the fireplace.
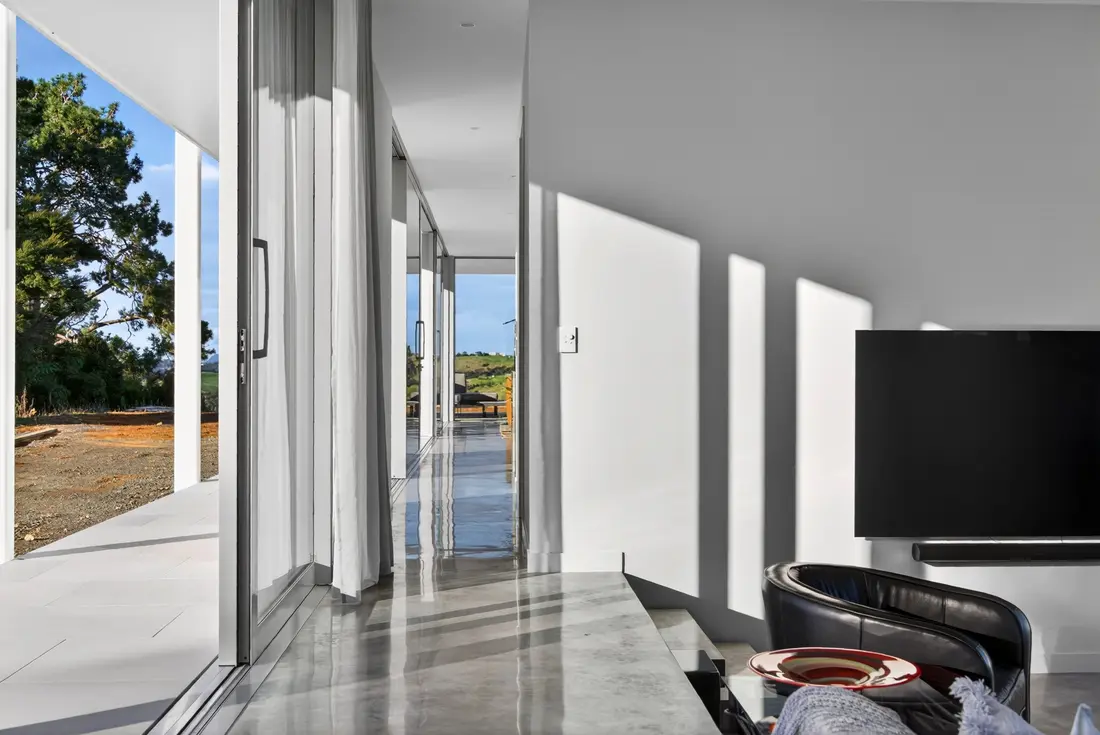 Gallery. The heated floor runs the length of the house and out to the terrace.
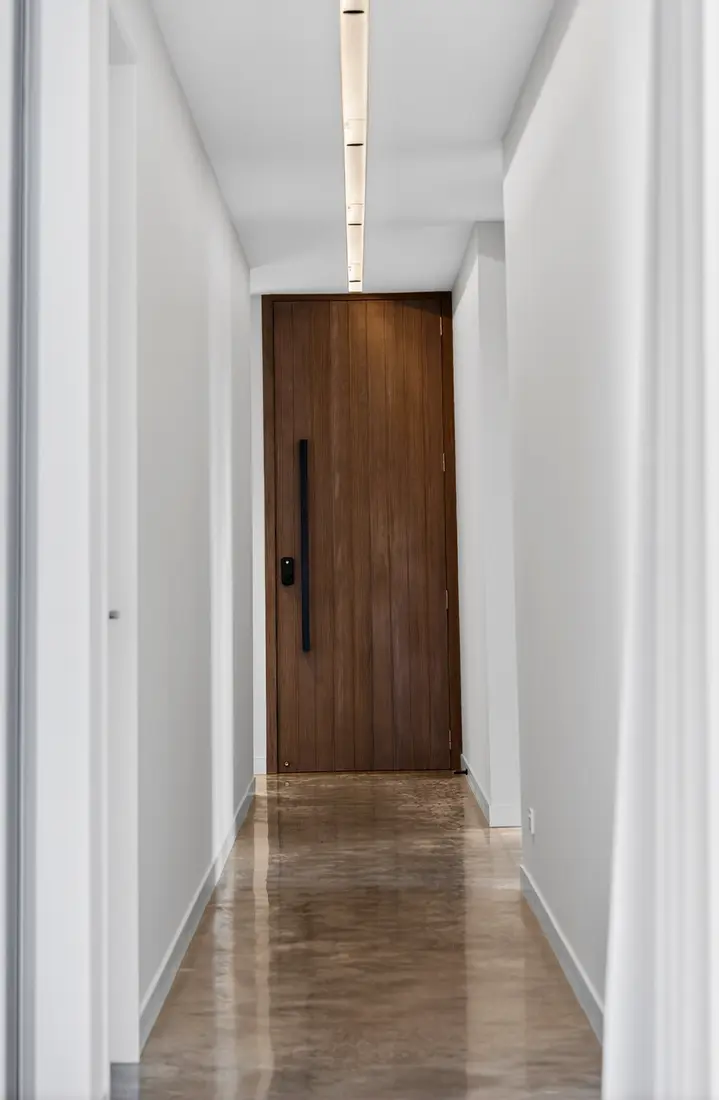 Hallway. Circulation spaces are heated too, so there are no cold corridors.
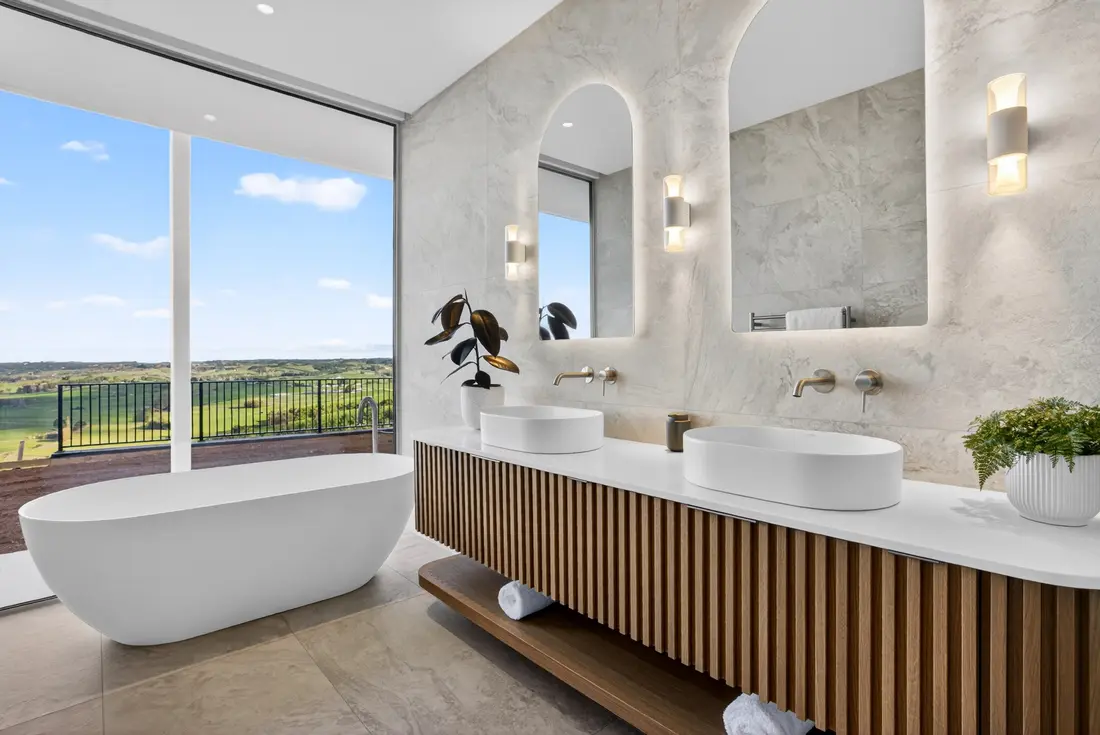 Master ensuite. Tiles over a heated slab at 150 mm centres.
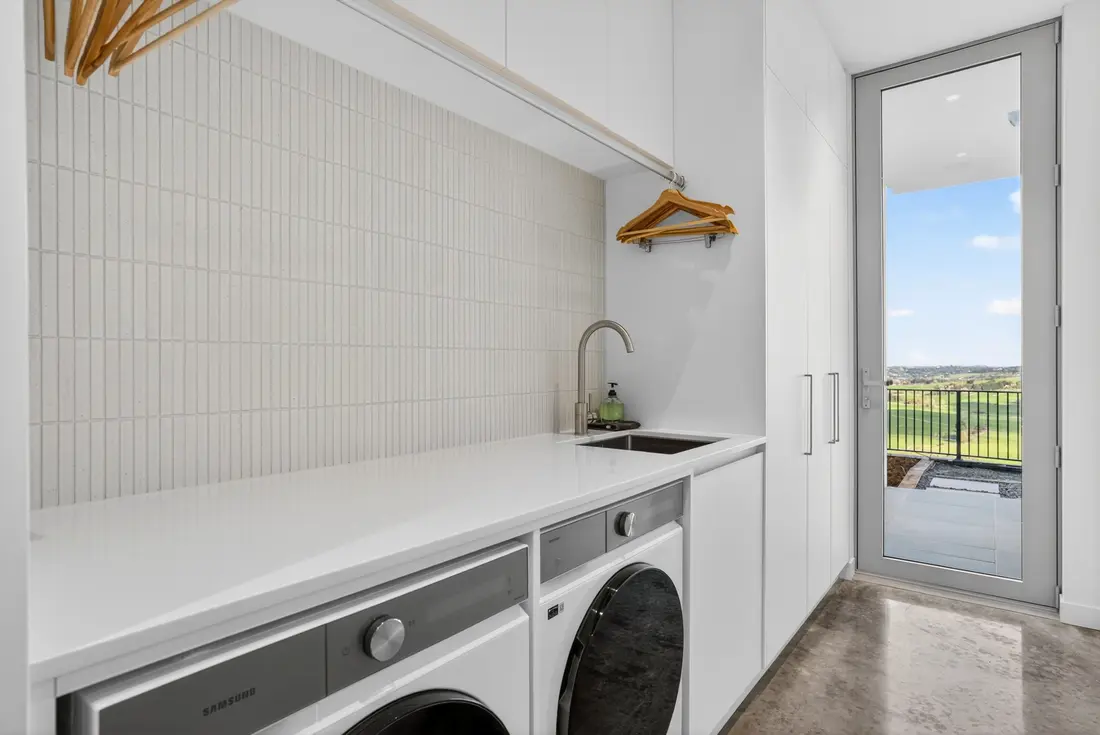 Laundry. Heated, because a warm laundry floor dries a house out.
Photographs courtesy of QPC Builders, published with the owners' permission.
How it went in
Four visits, fitted around the build
An in-slab system is not one trade visit. It is a handful of short ones at the right moments, and the job of our office is to make sure none of them holds the builder up.
Heating mains
Insulated flow and return pipes laid in the builder's trench from the heat pump pad to the control panel position, in ducting and corrugated conduit, before the slab is backfilled. Done as its own visit so the mains never run unprotected under the mesh.
In-floor pipework
Eight circuits of 16 mm PEX tied to the mesh over the insulation, pressure-tested and left under pressure through the pour. The builder marks the wall lines and saw cuts in advance so nothing sits where a blade will go.
Control panel
The manifold cabinet goes in before the linings, with the thermostat cable run to the wall position. The electrician brings power to the panel and the heat pump.
Heat pump and commissioning
The heat pump is set on its pad outside the garage, connected, filled and balanced. We then walk the owners through the thermostat and leave the manuals and warranty pack with the builder's handover folder.
For architects and builders
What made this one straightforward
On the drawings
- Heat pump position fixed early — a pad outside the garage, clear of the outdoor living areas
- Manifold cabinet located centrally, keeping circuit runs short and even
- Heated areas marked up against the floor finish schedule before the slab was priced
- Bedrooms left unheated by design — carpet, not on the hydronic circuit
On site
- Heating mains run in their own visit, ahead of backfill, so nothing was left exposed under the mesh
- Pipework pressure-tested and left under pressure through the pour, so a fault shows before the concrete goes down
- Saw-cut and wall lines confirmed with the builder before pipe went in, not after
- One thermostat, one commissioning visit, one walk-through with the owners at handover
Your project
Send us the plans
If you have a house at concept or consent stage, send us the drawings. We will mark up the heated areas, size the heat pump, tell you where the plant and control panel can go and give you a price, at no cost.